Step 1:
Click on the link to download the .pdf template for the pop-up Emerald City of Oz:
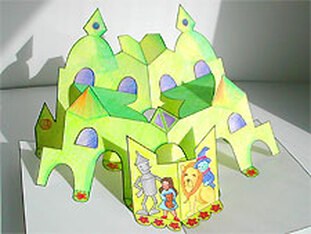
Step 2:
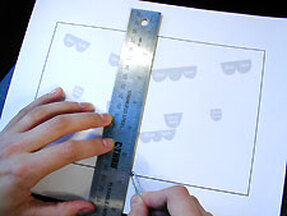
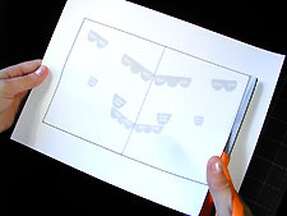
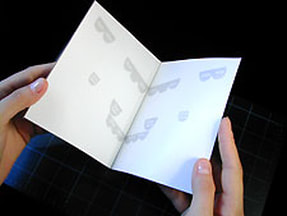
Print out both pages from the template onto heavy paper, such as card stock or construction paper.
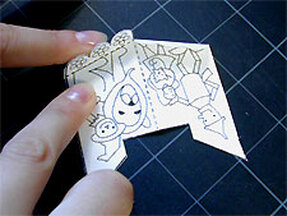
IMPORTANT: Color the pop-up pieces BEFORE you cut them out! Don't color on where it says "Glue Here."
IMPORTANT: Color the pop-up pieces BEFORE you cut them out! Don't color on where it says "Glue Here."
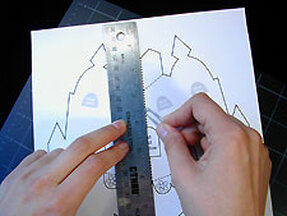
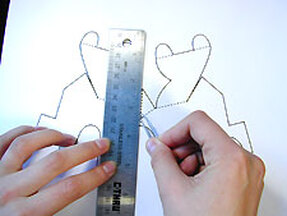
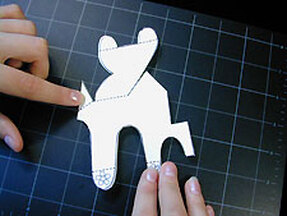
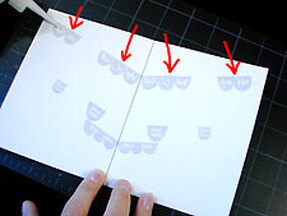
Step 3:With a paper clip (or a ballpoint pen that has run out of ink) and ruler, score all dotted lines by lining the ruler up with the dotted lines and pressing the paper clip back and forth to make a dent in the paper.
|
Step 4: |
Step 5: |

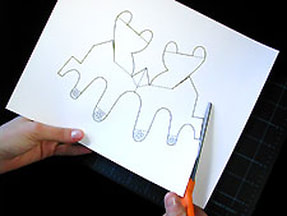
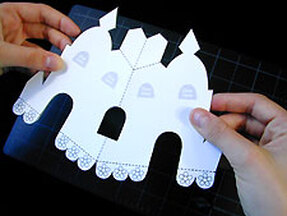
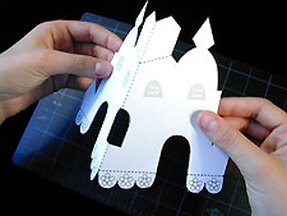
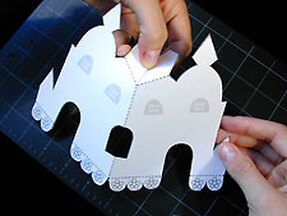
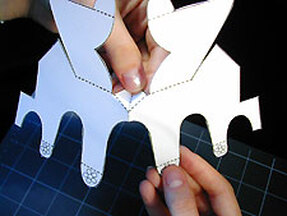
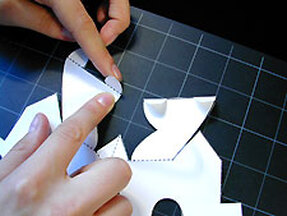
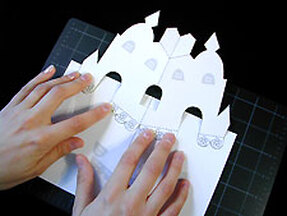
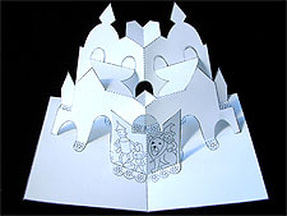
Step 6:Cut out all three pop-up pieces out following the OUTSIDE black lines.
|
Step 7: |
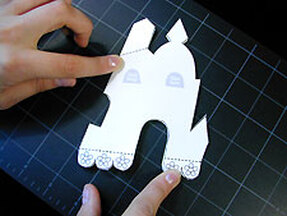
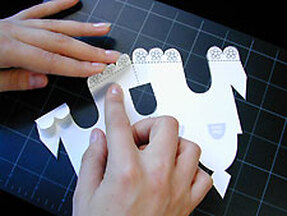
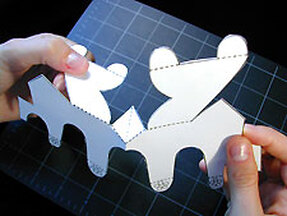
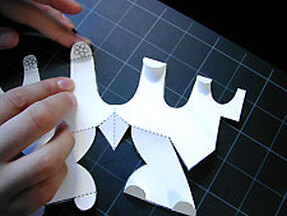
Step 8:Cut out the card base by following the OUTSIDE black lines.
|
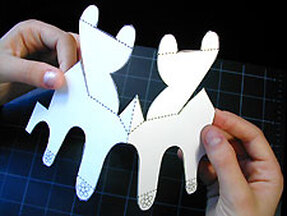
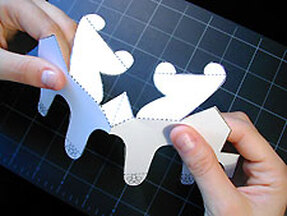
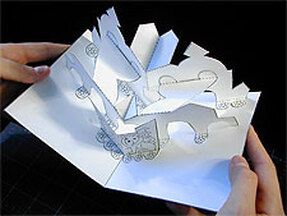
Step 9:Hold the back piece as shown...
|
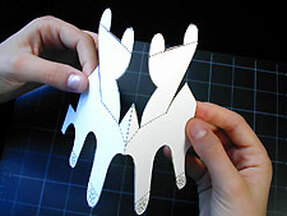
Step 10:...and slowly begin folding it back away from itself.
|
Step 11:Lay the piece flat on the table and crease along the fold with your finger.
|
Step 12:Open back up and carefully push the small center section away from you and crease.
|
Step 13:Lay the piece back on the table and fold all the tabs along the bottom upwards and crease the tabs well. Set this piece aside.
|
Step 14:Take the next piece and hold as shown...
|
Step 15:...and slowly begin folding it back away from itself.
|
Step 16:Lay the piece flat on the table and crease along the fold with your finger.
|
Step 17:Open back up and carefully push the small center section away from you and crease.
|
Step 18:Take the two upper sections and begin folding them...
|
Step 19:...back away from themselves and crease well.
|
Step 20:Fold the tabs at the tops of this section towards you and crease well.
|
Step 21:Fold all the tabs along the bottom upwards and crease the tabs well. Set this piece aside.
|
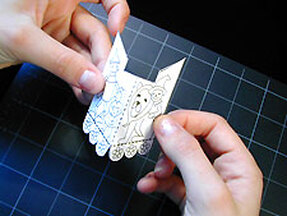
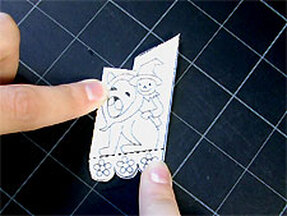
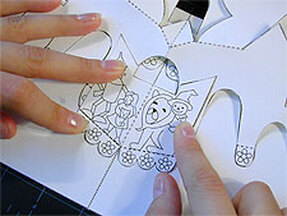
Step 22:Take the Friends piece and hold as shown
and slowly begin folding it back away from itself. |
Step 23:Lay the piece flat on the table and crease along the fold with your finger.
|
Step 24:Fold all the tabs along the bottom upwards and crease the tabs well.
|
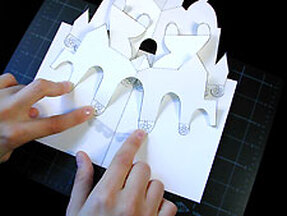
Step 25:Take the card and fold along the center line, creasing well.
|
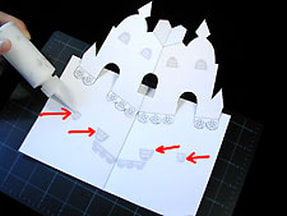
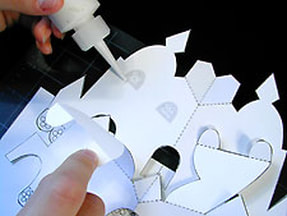
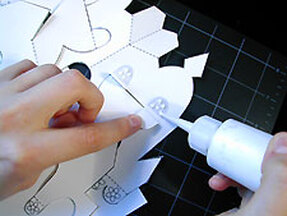
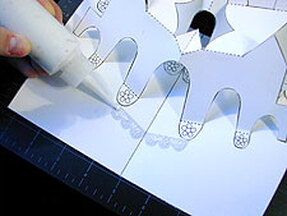
Step 26:Apply a very small amount of glue to glue areas at the top of the card only.
|
Step 27: |
Step 28: |
Step 29: |
Step 30: |

Step 31: |
Step 32: |
Step 33: |
Step 34: |
Step 35: |
Step 36: |
Step 37: |
|