Step 1:
Click on the link to download the .pdf template for the pop-up City:
Step 2:
Print out both pages from the template onto heavy paper, such as card stock or construction paper.

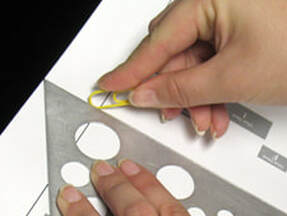
Step 3:Using a ruler as a guide, take the rounded end of a paper clip (or ballpoint pen that has run out of ink) and press along the dotted lines of pop-up pieces and card.
|
Step 4:Carefully cut out the City card following the solid, black lines.
|
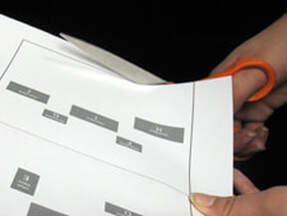
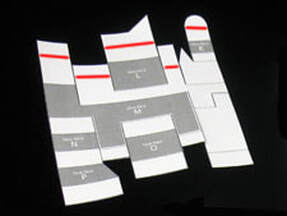
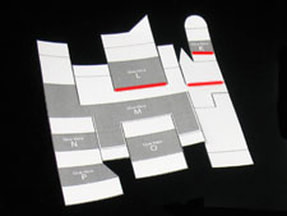
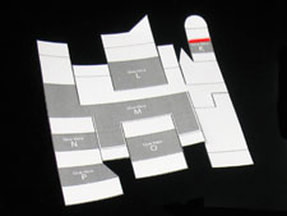
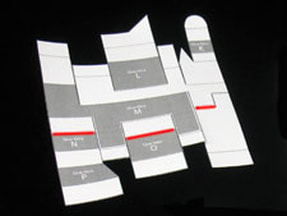
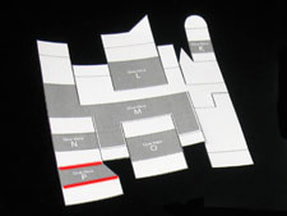
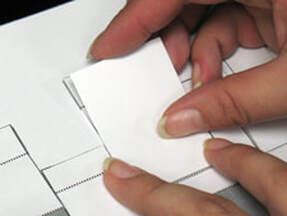
Step 5:Carefully cut out the City pieces following the solid, black lines.
|
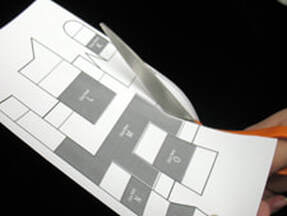
Some of the black lines cut into the mail piece.
|
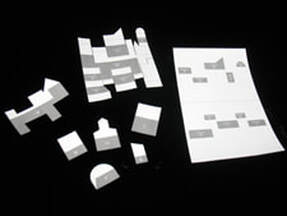
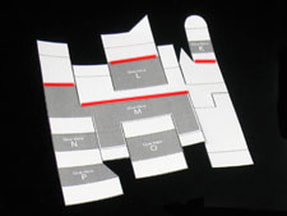
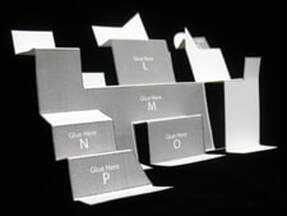
Step 6:You should now have 7 cut-out pieces as well as the card.
|
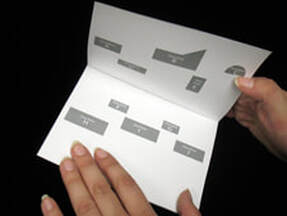
Step 7:Fold the card in half along the dotted line and unfold it again. Set it aside.
|
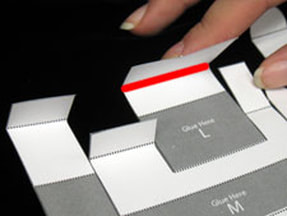
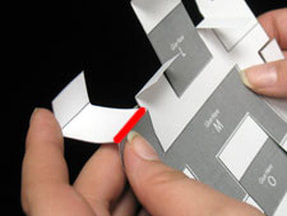
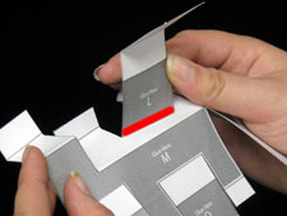
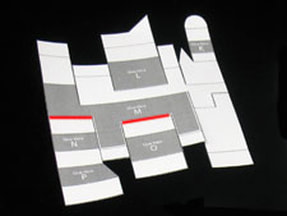
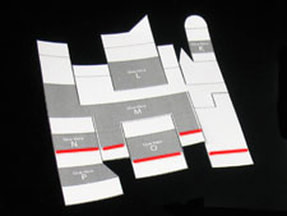
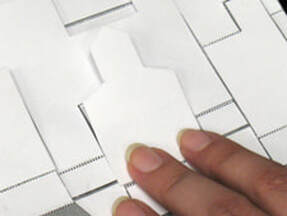
Step 8:This is the main piece. The folds for the tabs along the top of the piece have been highlighted here.
|
Step 8 Continued:Fold the tabs along the top of the main piece up, towards you.
|
Step 8 Continued: |
Step 8 Continued: |
Step 8 Continued: |
Step 8 Continued: |
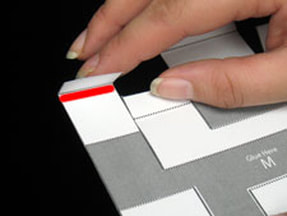
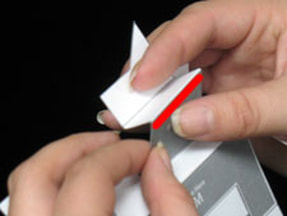
Step 9:The next set of dotted lines has been highlighted here.
|
Step 9 Continued:Fold along the next set of dotted lines back, away from you.
|

Step 9 Continued: |
Step 9 Continued: |
Step 9 Continued: |
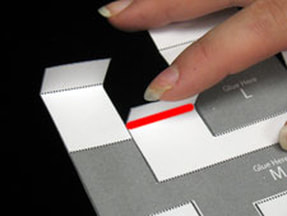
Step 10:The next set of dotted lines has been highlighted here.
|
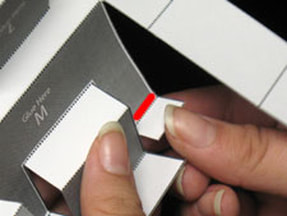
Step 10 Continued:Fold the next set of dotted lines towards you.
|
Step 10 Continued: |
Step 10 Continued: |
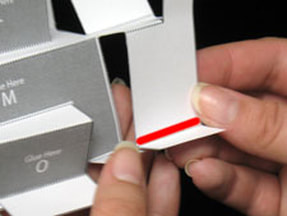
Step 11:The next fold line is highlighted here.
|
Step 11 Continued:Fold away from you along the next line.
|
The folds on the top half of the main piece are done!
|
Your main pieces should look like this.
|
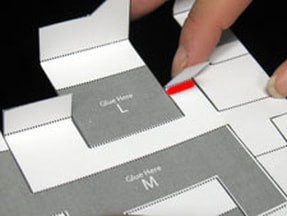
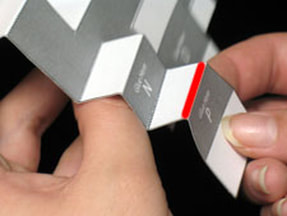
Step 12:The next set of fold lines is highlighted here.
|
Step 12 Continued:Fold towards you along the next set of dotted lines.
|

Step 12 Continued: |
Step 13:The next set of fold lines is highlighted here.
|

Step 13 Continued:Fold away from you along the next set of fold lines.
|

Step 13 Continued: |

Step 13 Continued: |
Step 14:The next set of fold lines is highlighted here.
|
Step 14 Continued:Fold toward you along the next set of fold lines.
|

Step 14 Continued: |

Step 14 Continued: |
Step 14 Continued: |
Step 14 Continued: |
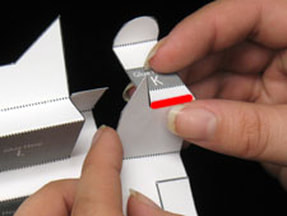
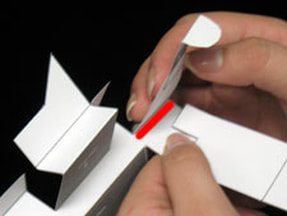
Step 15:The next set of folds is highlighted here.
|
Step 15 Continued:Fold away from you along the dotted line.
|

Step 15 Continued:Fold the tab towards you along the dotted line.
|
The main piece's folds are complete! Set the piece aside for a moment.
|
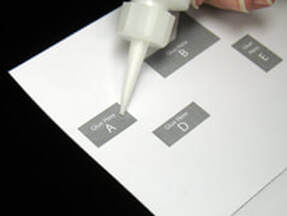
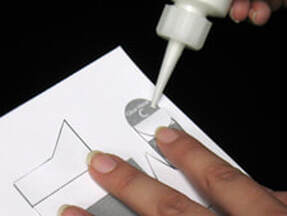
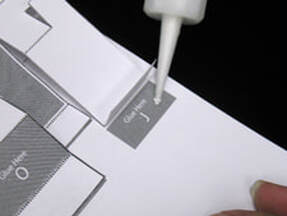
Step 16:Apply a small amount of glue to the card in the area marked "Glue Here A".
|
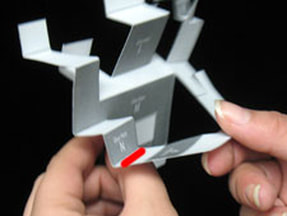
Step 17:Now take the main piece and carefully line it up with the matching "Glue Here" areas.
|

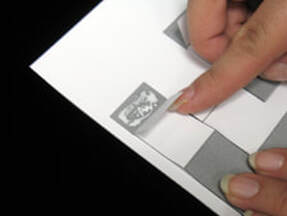
Step 18:Press the matching tab down firmly on the area marked "Glue Here A". Allow time for the glue to dry.
|
Step 19:Apply a small amount of glue to the card in the area marked "Glue Here B".
|

Step 20:Press the matching tab down firmly on the area marked "Glue Here B". Allow time for the glue to dry.
|
Step 21:Apply a small amount of glue to the card in the area marked "Glue Here C".
|

Step 22:Press the matching tab down firmly on the area marked "Glue Here C". Allow time for the glue to dry.
|

Step 23:Apply a small amount of glue to the card in the area marked "Glue Here D".
|

Step 24:Press the matching tab down firmly on the area marked "Glue Here D". Allow time for the glue to dry.
|
Step 25:Apply a small amount of glue to the card in the area marked "Glue Here E".
|

Step 26:Press the matching tab down firmly on the area marked "Glue Here E". Allow time for the glue to dry.
|
Step 27:Apply a small amount of glue to the card in the area marked "Glue Here F".
|

Step 28:Press the matching tab down firmly on the area marked "Glue Here F". Allow time for the glue to dry.
|
Step 29:Apply a small amount of glue to the card in the area marked "Glue Here G".
|

Step 30:Press the matching tab down firmly on the area marked "Glue Here G". Allow time for the glue to dry.
|
Step 31:Apply a small amount of glue to the card in the area marked "Glue Here H".
|
Step 32:Press the matching tab down firmly on the area marked "Glue Here H". Allow time for the glue to dry.
|
Step 33:Apply a small amount of glue to the card in the area marked "Glue Here I".
|
Step 34:Press the matching tab down firmly on the area marked "Glue Here I". Allow time for the glue to dry.
|
Step 35:Apply a small amount of glue to the card in the area marked "Glue Here J".
|

Step 36:Press the matching tab down firmly on the area marked "Glue Here J". Allow time for the glue to dry.
|

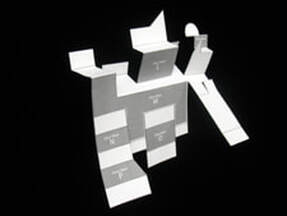
The main piece is now glued to the card! In the next steps we'll attach the buildings.
|
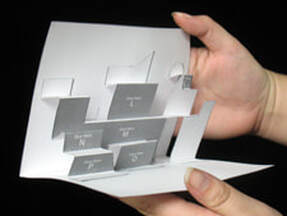
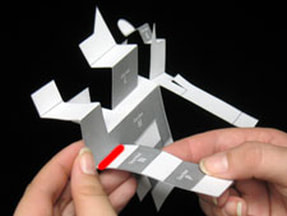
Step 37:Close and open the card slowly, making sure the main piece is folding along the fold lines correctly.
|
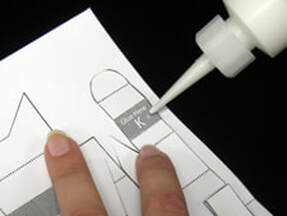
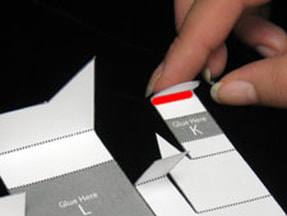
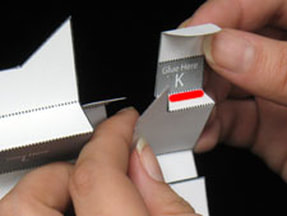
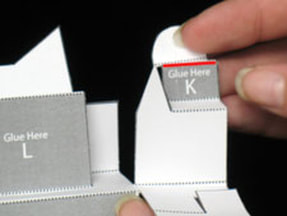
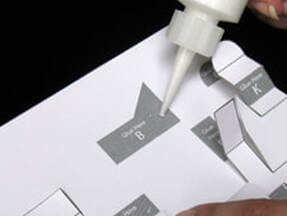
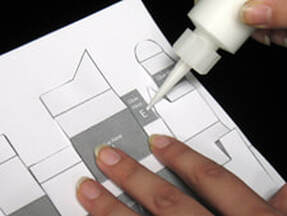
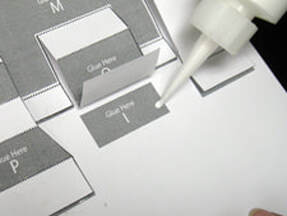
Step 38:Apply a small amount of glue to the area marked "Glue Here K".
|
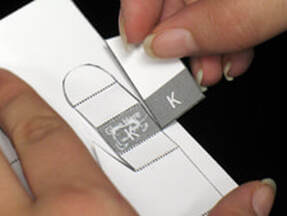
Step 39:Find the building marked "K"
|

Step 40:Press building "K" face down on the area marked "Glue Here K" and allow the glue time to dry.
|
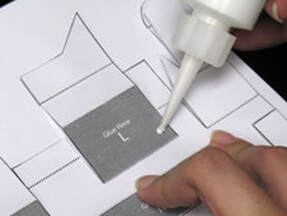
Step 41:Apply a small amount of glue to the area marked "Glue Here L".
|

Step 42:Find the building marked "L"
|
Step 43:Press building "L" face down on the area marked "Glue Here L" and allow the glue time to dry.
|
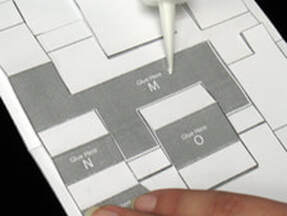
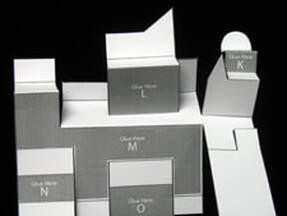
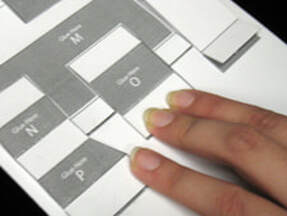
Step 44:Apply a small amount of glue to the area marked "Glue Here M".
|
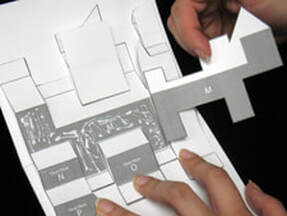
Step 45:Find the building marked "M"
|
Step 46:Press building "M" face down on the area marked "Glue Here M" and allow the glue time to dry.
|
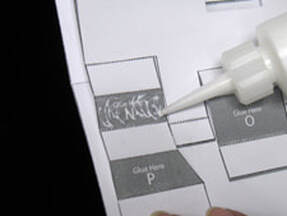
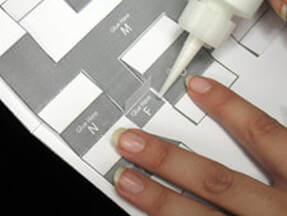
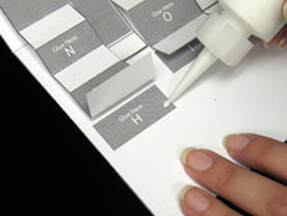
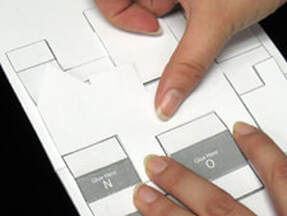
Step 47:Apply a small amount of glue to the area marked "Glue Here N".
|
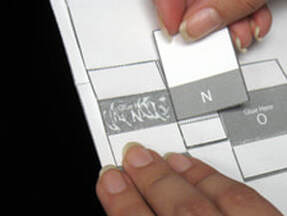
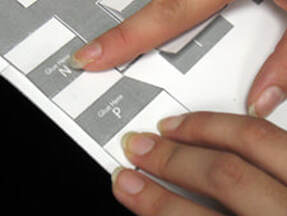
Step 48:Find the building marked "N"
|

Step 49:Press building "N" face down on the area marked "Glue Here N" and allow the glue time to dry.
|
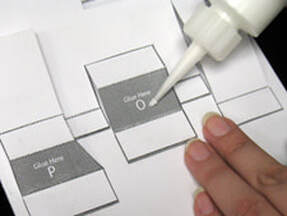
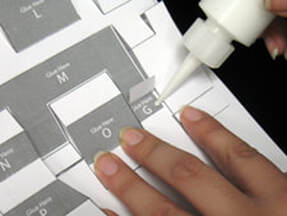
Step 50:Apply a small amount of glue to the area marked "Glue Here O".
|
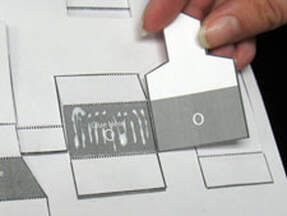
Step 51:Find the building marked "O"
|
Step 52:Press building "O" face down on the area marked "Glue Here O" and allow the glue time to dry.
|
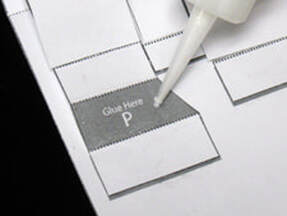
Step 53:Apply a small amount of glue to the area marked "Glue Here P".
|

Step 54:Find the building marked "P"
|

Step 55:Press piece "P" face down on the area marked "Glue Here O" and allow the glue time to dry.
|

Step 56:Slowly close the card, making sure that all the folds are closing correctly.
|

|

|
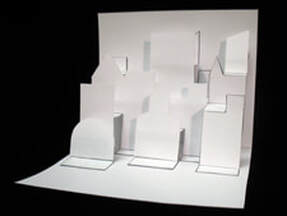
Your pop-up City is complete!
|