Step 1:
Click on the link to download the .pdf template for the pop-up Eagle:
Step 2:
Print out both pages from the template onto heavy paper, such as card stock or construction paper.
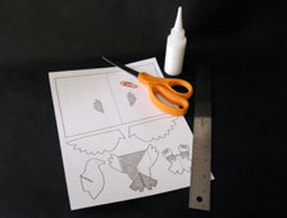
You will need: printed page with card and pieces, scissors, white glue (such as elmer's), a ruler and a paper clip or ballpoint pen that has run out of ink.
|
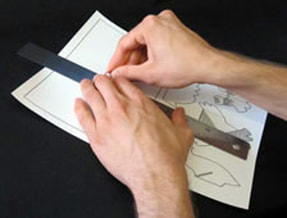
Step 3:Using a ruler as a guide, take the rounded end of a paper clip (or ballpoint pen that has run out of ink) and press along the dotted lines of pop-up pieces and card.
|
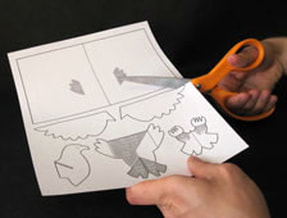
Step 4:Carefully cut out your eagle pop-up pieces and card following the solid black line around the shapes.
|
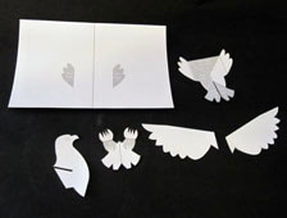
Step 5:When you are done you should have 5 pop-up pieces (the eagle's head, body, tail/feet, left and right wings) and 1 card.
|
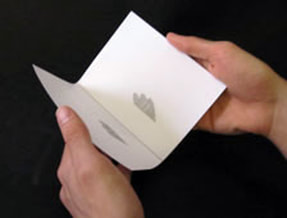
Step 6:Fold the card in half along the dotted lines. Set it aside for now.
|
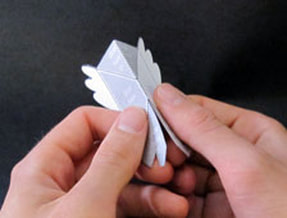
Step 7:Take the eagle's body piece and fold it in half along the dotted line.
|
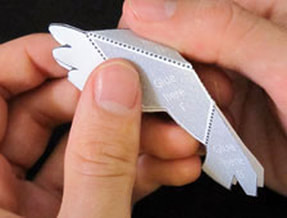
Step 8:Fold the triangle at the top back (away from you) then unfold it.
|
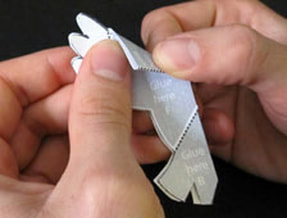
Step 9:Now fold the triangle forward (towards you) and unfold it.
|
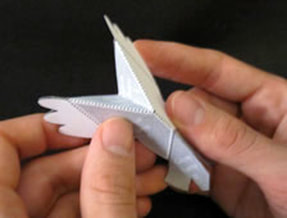
Step 10:Unfold the body piece. Push the triangle shape at the top inwards, until the fold in the middle of the triangle pops inside out (away from you).
|
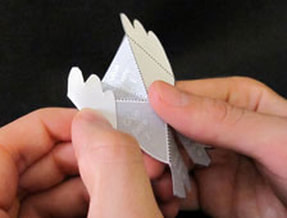
Step 11:Fold the body's outer tabs up, towards you.
|
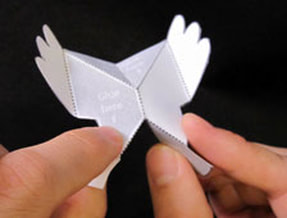
Step 12:Fold both tail-shaped tabs inward. Set the body piece aside for a moment.
|
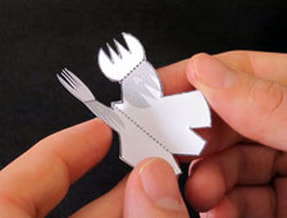
Step 13:Take the tail and feet piece and fold it in half so the dotted line fold inwards (away from you).
|
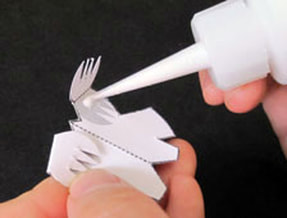
Step 14:Pus a small amount of glue on one of the areas marked "A".
|
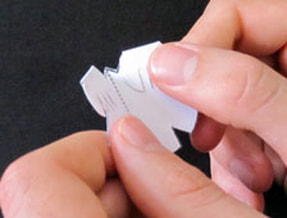
Step 15:Fold the eagle's foot down and hold it firmly until the glue dries.
|
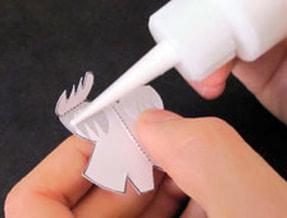
Step 16:Put a small amount of glue on the other area marked "A".
|
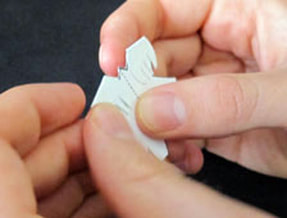
Step 17:Fold the eagle's foot down and hold it firmly until the glue dries.
|
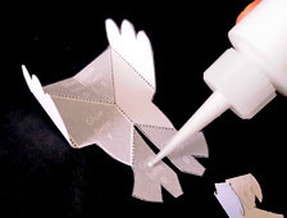
Step 18:Take your eagle's body piece and spread it flat. Put a small amount of glue on the areas marked "Glue here B".
|
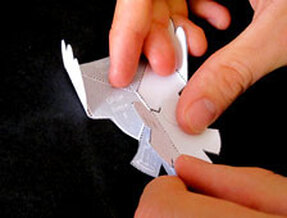
Step 19:Match the tail/feet piece to the matching "Glue here B" tabs. Making sure the middle fold of the tail piece lines up with the middle fold of the body piece.
|
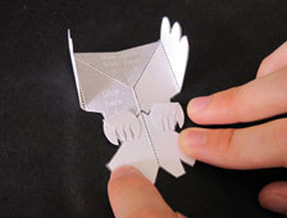
Step 20:Press the tail down firmly, allowing the glue to dry.
|
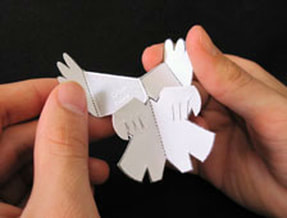
Step 21:Push in on the tail piece until it pops inside out, just like the triangle at the top of the piece.
|
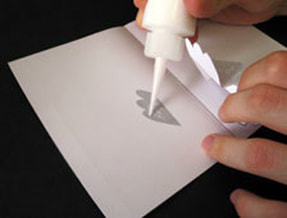
Step 22:Take your card and lay it flat. Put a small amount of glue on one of the gray areas marked "Glue here C".
|
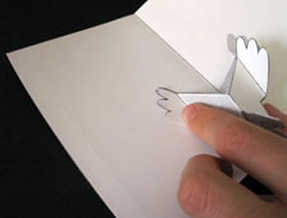
Step 23:Match the tab on the side of the eagle's body piece to the gray shape on the card marked "Glue here C", and press down firmly, allowing the glue to dry. Make sure the middle fold of the piece lines up with the middle fold of the card!
|
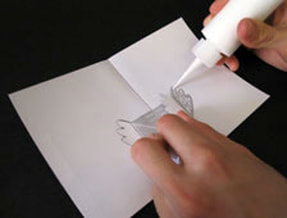
Step 24:Put a small amount of glue on other gray area marked "Glue here C".
|
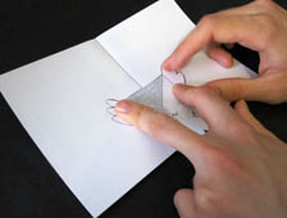
Step 25:The body should lie completely flat on the card. Press the matching tab down on the area marked "Glue here C". making sure the middle fold of the piece lines up with the middle fold of the card. Allow time for the glue to dry.
|
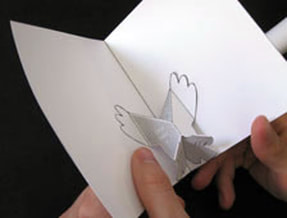
Step 26:Close the card, making sure the body piece pops forward (towards you) and the triangle shape and tail piece fold inward (away from you).
|
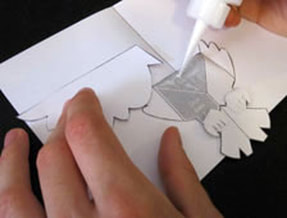
Step 27:Open the card again and press it flat. Put a small amount of glue on the area marked "Glue here D".
|
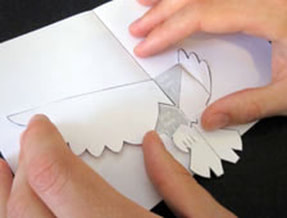
Step 28:Take the eagle's left wing piece and line up its triangle-shaped corner with the matching glue shape marked "Glue here D". Making sure it does not overlap the fold in the middle of the body piece and press it down firmly, allowing the glue to dry.
|
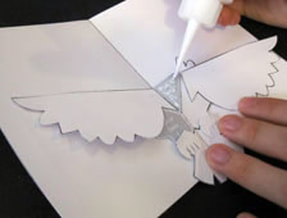
Step 29:Put a small amount of glue on the area marked "Glue here E".
|
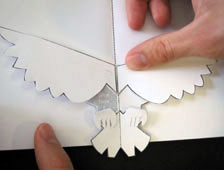
Step 30:Take the eagle's right wing piece and line up its triangle-shaped corner with the matching glue shape marked "Glue here E". Making sure it does not overlap the fold in the middle of the body piece and press it down firmly, allowing the glue to dry.
|
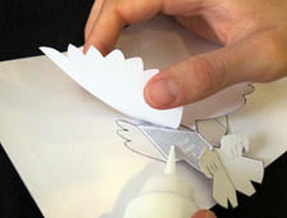
Step 31:Left up the eagle's left wing slightly and put a small amount of glue on the area marked "Glue here F".
|
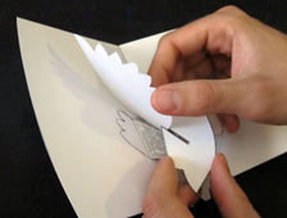
Step 32:Take the eagle's head piece and match it to the glue area, making sure to slide the wing through the slot on the eagle's neck.
|
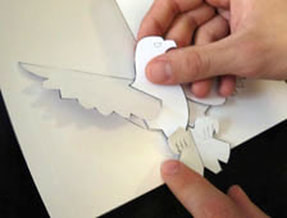
Step 33:Press it down firmly and allow time for the glue to dry.
|
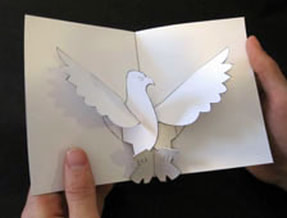
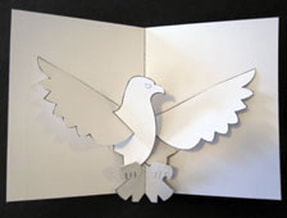
Step 34:Close the card, making sure the wings swing upward as the card closes, and the tail folds inward. Your Eagle card is now complete!
|
|
|
|