Step 1:
Click on the link to download the .pdf template for the pop-up Summer Boat:
Step 2:
Print out both pages from the template onto heavy paper, such as card stock or construction paper.
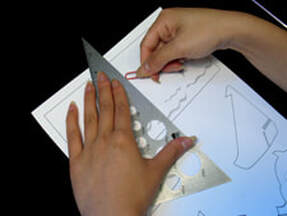
Step 3:Using a ruler as a guide. take the rounded end of a paper clip (or a ballpoint pen that has run out of ink) and press along the dotted lines of pop-up pieces and card.
|
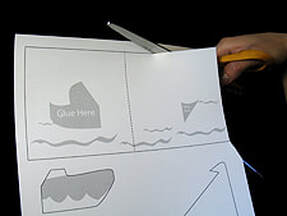
Step 4:Carefully cut out the pop-up pieces and card following the solid, black lines.
|
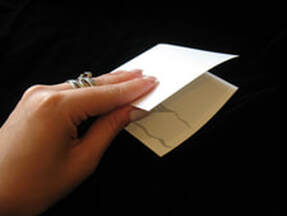
Step 5:Take the card, fold it in half and set it aside.
|
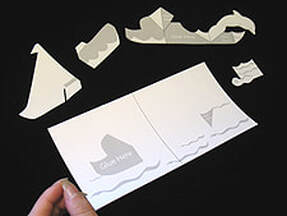
Step 6:You now have 4 pop-up pieces and 1 card.
|
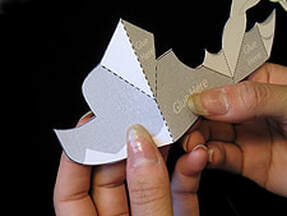
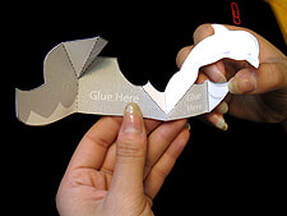
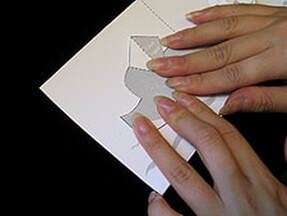
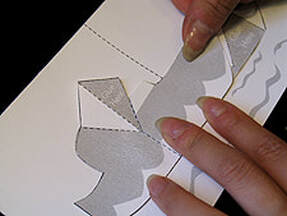
Step 7:Take the pop-up piece with the dolphin on it, fold the score on the left side of the card toward you on the dotted lines. Crease well and unfold it to its original position.
|
Step 8:Next, push the triangle shape on the top of the same fold you just made and push it in towards you. Unfold and place it back to its original position.
|
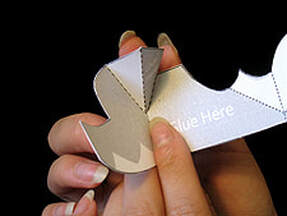
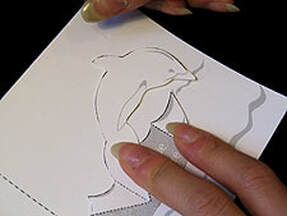
Step 9:Now fold the center of the dolphin pop-up piece away from you and crease well.
|
Step 10:Continue to push the dolphin away from you all the way and crease. The piece should now look like this. Unfold and place it back to its original position.
|
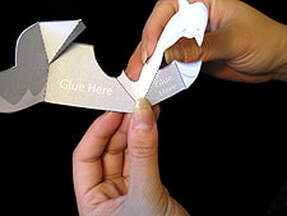
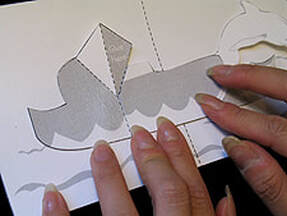
Step 11:Now take the right side of the dolphin piece shaped like a wave...
|
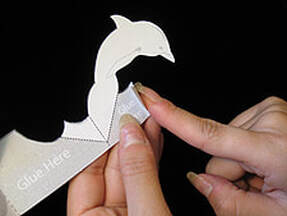
Step 12:Fold this piece towards the left side and crease well. Place it back to its original position and set this dolphin pop-up piece aside.
|
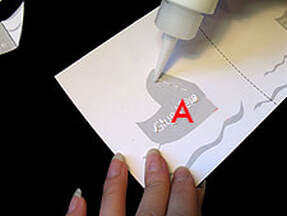
Step 13:Now take your card and carefully apply glue to area "A" in the photo.
|
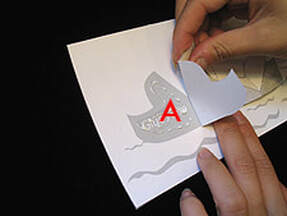
Step 14:Take your dolphin pop-up piece and carefully align it to area "A".
|
Step 15:Place firmly and wait for the glue to dry.
|
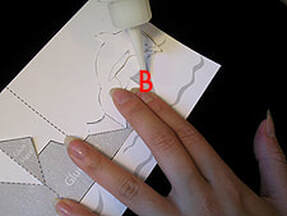
Step 16:Apply a small amount of glue to the card area marked "B".
|
Step 17:Press firmly and wait for the glue to dry.
|
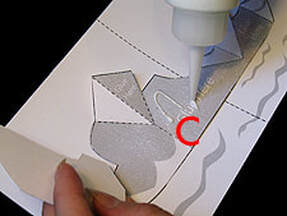
Step 18:Apply glue to the dolphin pop-up piece marked "C".
|
Step 19:Find your pop-up boat piece and align it over area "C". Press firmly and let the glue dry.
|
Step 20:Press firmly and let the glue dry.
|
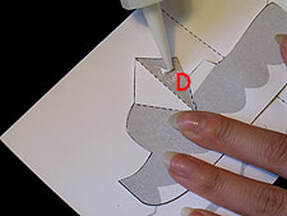
Step 21:Apply glue to the area marked "D".
|
Step 22:Take your pop-up sail piece and insert it over area "D".
|
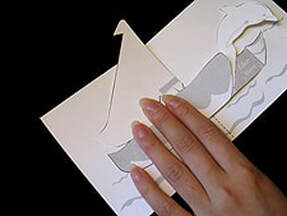
Step 23:Press firmly on the sail and let the glue dry.
|

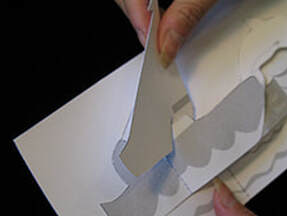
Step 24:Apply glue to area marked "E".
|
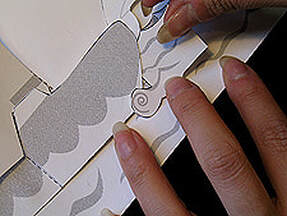
Step 25:Take your pop-up wave piece and align it over area "E". Press firmly and let the glue dry.
|
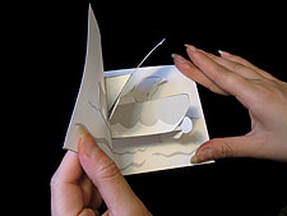
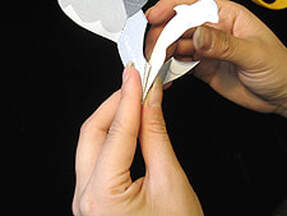
Step 26:Carefully begin to close your card...
|
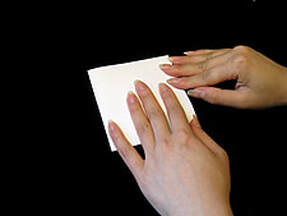
Step 27:Press firmly on your card and get ready...!
|

Step 28:Open your Summer Boat pop-up! Put your own finishing touches by coloring it in with crayons and markers. Happy Sailing!
|
|