Step 1:
Click on the link to download the .pdf template for the pop-up Snowflake:
Step 2:
Print out both pages from the template onto heavy paper, such as card stock or construction paper.
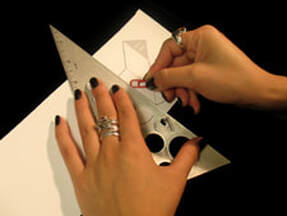
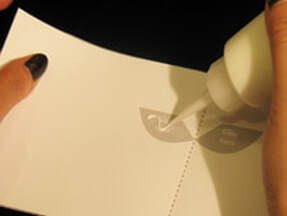
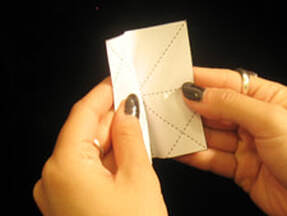
Step 3:Using a ruler as a guide, take the rounded end of a paper clip (or ballpoint pen that has run out of ink) and press along the dotted lines of the pop-up pieces and card.
|
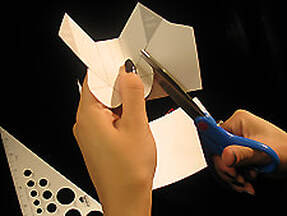
Step 4:Carefully cut out the pop-up pieces and card following the solid, gray lines around the shape.
|
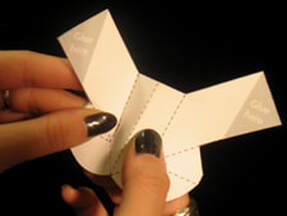
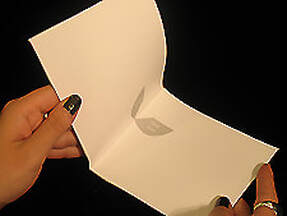
Step 5:Fold the base piece of snowflake in half and put it back to its original position.
|

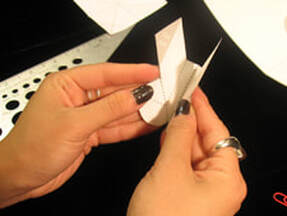
Step 6:Fold the left tab up and crease with your thumb or finger.
|
Step 7:Put the tab back to its original position and repeat the steps on the right side.
|
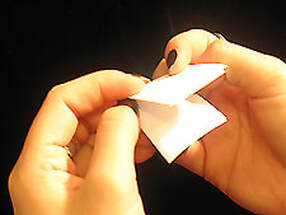
Step 8:Crease and push the center of the fold towards you with your index finger.
|
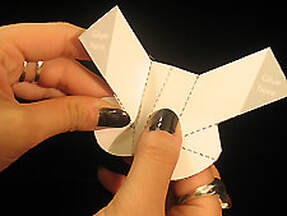
Step 9:Fold the left arm over and across the piece. Don't worry if you crease the left tab, we will fix it in the next step.
|
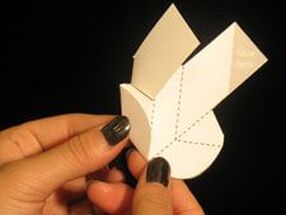
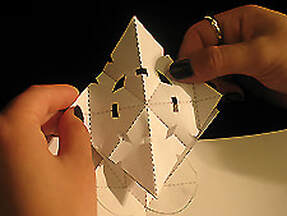
Step 10:Fold the left tab up and crease with your thumb or finger and put it back to its original position. Repeat Step 9 and 10 for the right side.
|
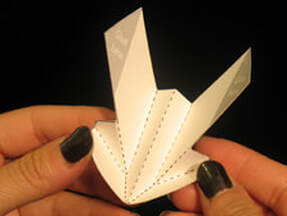
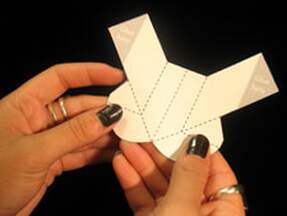
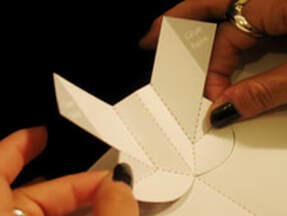
Step 11:The piece should now look like this.
|
Step 12:Take the base page and fold it in half.
|
Step 13:Apply glue to the grey areas marked "glue here".
|
Step 14:Position one side of the tab on top of the glued area. Do the same to the other side.
|
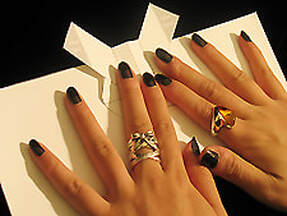
Step 15:Press down firmly with both hands and let the glue dry.
|
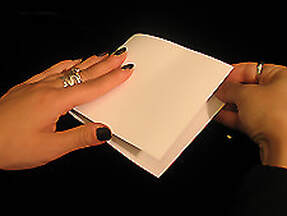
Step 16:Take the piece printed on regular paper and fold it in half.
|
Step 17:Fold the piece down...
|
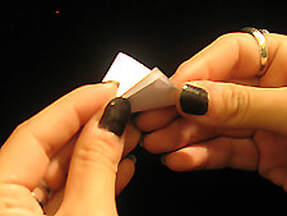
Step 18:And then up forming a triangle.
|
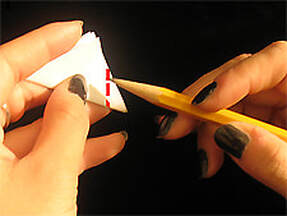
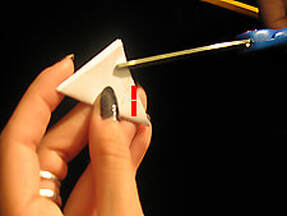
Step 19:Take a pencil and draw a line straight down the side of the triangle you folded up. You can see the dotted lines through the paper from other side, go ahead and trace the dotted line on top of the triangle.
|
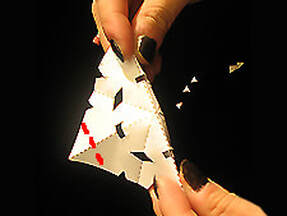
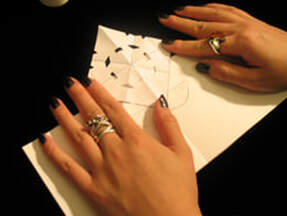
Step 20:Carefully cut out small shapes ABOVE the line you just drew. You may cut out shapes like a small triangle of rectangle.
|
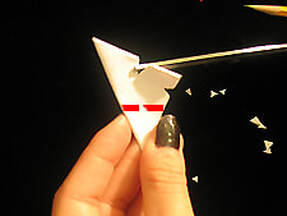
Step 21:Do the same on the other side of the triangle above your dotted line.
|
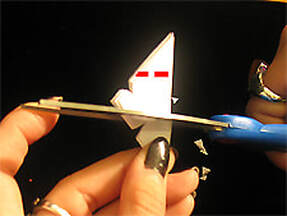
Step 22:One more time on the last side of the triangle.
|

Step 23:It should look like this, (Note: Your shapes may be different from the one shown in the photo and that is ok!)
|
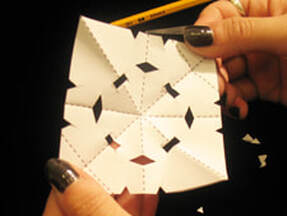
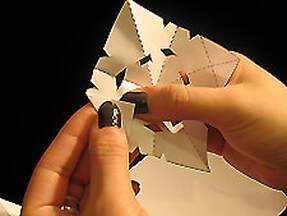
Step 24:Unfold the piece and now you have your snowflake! Keep going...
|
Step 25:Fold the center of snowflake away from you, crease it with your finger and put it back to its original position.
|
Step 26:Now fold the right side tab of the snowflake. Crease it with your thumb or finger. Do the same to the other side and place it back to its original position.
|
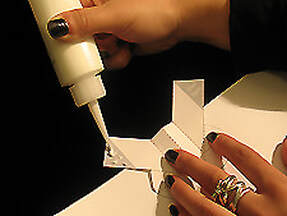
Step 27:Apply glue to the areas marked "glue here" on the piece that is glued to the card.
|
Step 28:Carefully align your snowflake on top of one side, and then the other.
|
Step 29:Press firmly and wait for the glue to dry.
|
Step 30:Carefully fold your card in half.
|
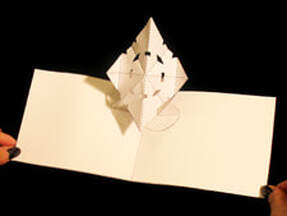
Step 31:Open your pop-up Snowflake! Remember, no two snowflakes are alike!
|
|